
This article are for people who are updating or building a new website on their live domain, and don’t want search engines to index their site for a variety of SEO reasons. Google doesn’t like the idea you may be trying to get double exposure for your website by simply duplicating your content on multiple sites.
Here’s a walkthrough of the settings you should choose when you want to keep your site from being found by search engines. Yoast SEO makes it SUPER EASY AND FREE to get the correct settings. Here are the steps:
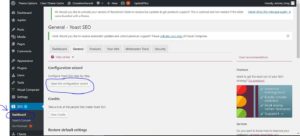
1. Install Yoast SEO into your theme. Make sure to activate it after downloading! After installed, find SEO on your left Menu, Goto Dashboard > Open the configuration Wizard.
If you’re unsure how to do this first step, you should reach out to a web design agency for some help. If you’re cool with installing plugins, this article is for you!
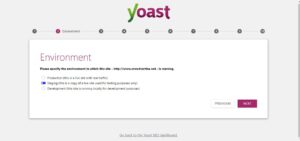
2. Choose the Staging Environment
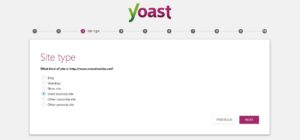
3. Choose the type of site it is. Pretty straight forward… thanks Yoasty ? The Yoastest with the mostest.
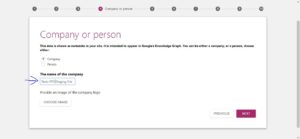
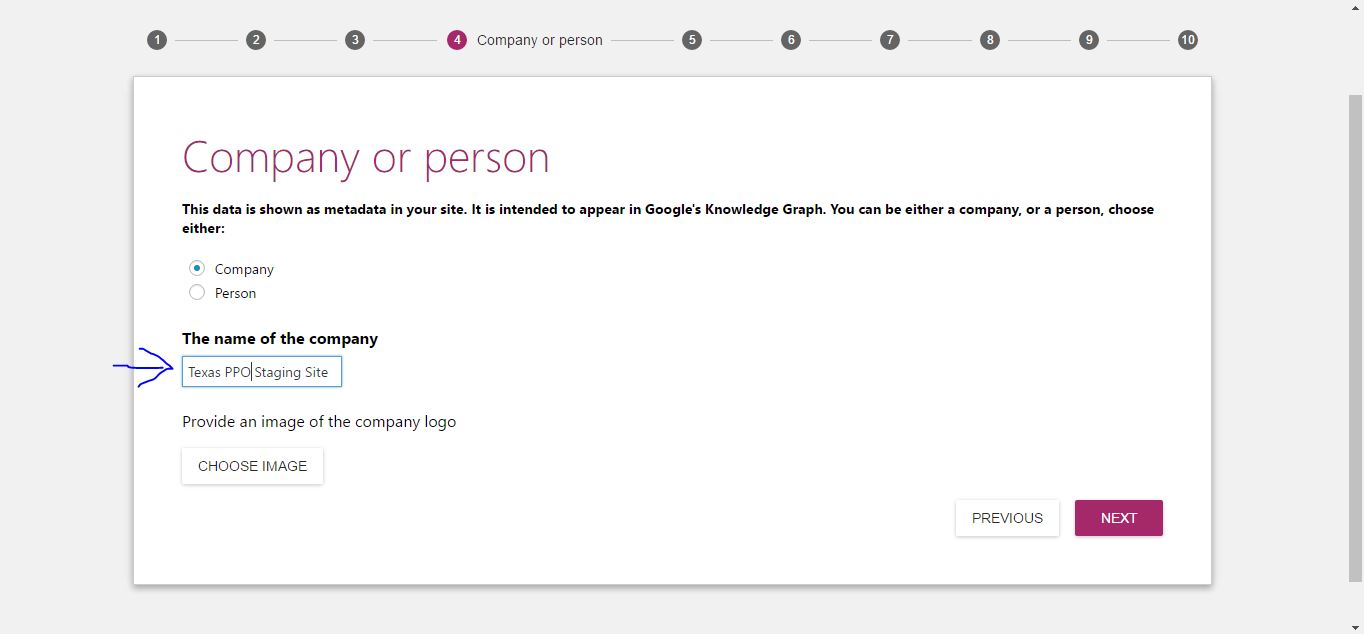
4. Is the site for a company or a person? Then when we add the name of the site, we usually abbreviate the name of the company, then Staging Site, so when we have multiple sites open browser tabs, it’s easy to see the sites title.
One less thing to remember come lunch time, err.. launch time, sorry, I’ve been dreaming about a custom turkey sandwich from Raley’s deli (and it’s 11pm as I’m writing this. oh boy).
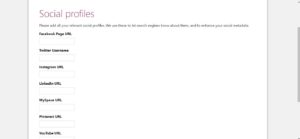
5. I’ve been leaving them blank. Why take the chance, right? I LOVE this screen though, load it up with all the connectors out to the world. Hey Joost de Valk (he created Yoast), you’re really cool. I’m Joost up now! Whoo!
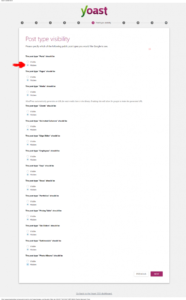
6. Change all the Post Type’s to Hidden. This will keep Google from indexing them. You may have more or less Post Types listed. It depends on what WordPress them you are using.
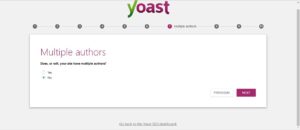
7. Are you going to have multiple writers contributing to your blog? Check yes or no.
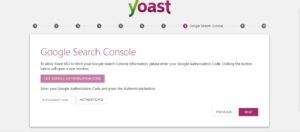
8. Here’s where the fun and excitement really begins. Get your Google on. Make Google love your site. Open a Gmail account, create a Google My Business listing, create a Google + account, create a Google Analytics account, then link up Google Search Console and submit your sitemap.
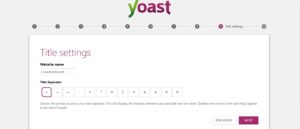
9. According to Google Jedi Master Matt Cuts, just go with the a dash. Here’s Matt talking about it in this video.
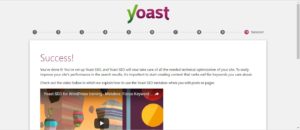
10. Voila! That’s it. You’ve been Yoastified. Now Google and other Search Engines will not begin indexing your site. Make sure you reverse all this stuff once your site is ready!!!


